スキャン101:写真を3Dメッシュに変換する
Learn how to capture a high-quality 3D scan of your face using photogrammetry. From Apple's Object Capture to Polycam, discover the tools and techniques for creating the foundation of your MetaHuman.

Samuel Kubinsky
December 10, 2025
4 min read
Dev Log: "I honestly thought scanning myself would be the easy part. I mean, I have a phone, I have a face—how hard could it be? Turns out, pretty hard if you don't want to look like a melted candle."
What is Photogrammetry?
In simple terms, photogrammetry is the process of taking a bunch of 2D photos of an object from different angles and using software to calculate the depth and shape of that object in 3D space. The software looks for common points (features) across multiple images to triangulate where they sit in 3D. That's why you need a lot of overlap between photos.
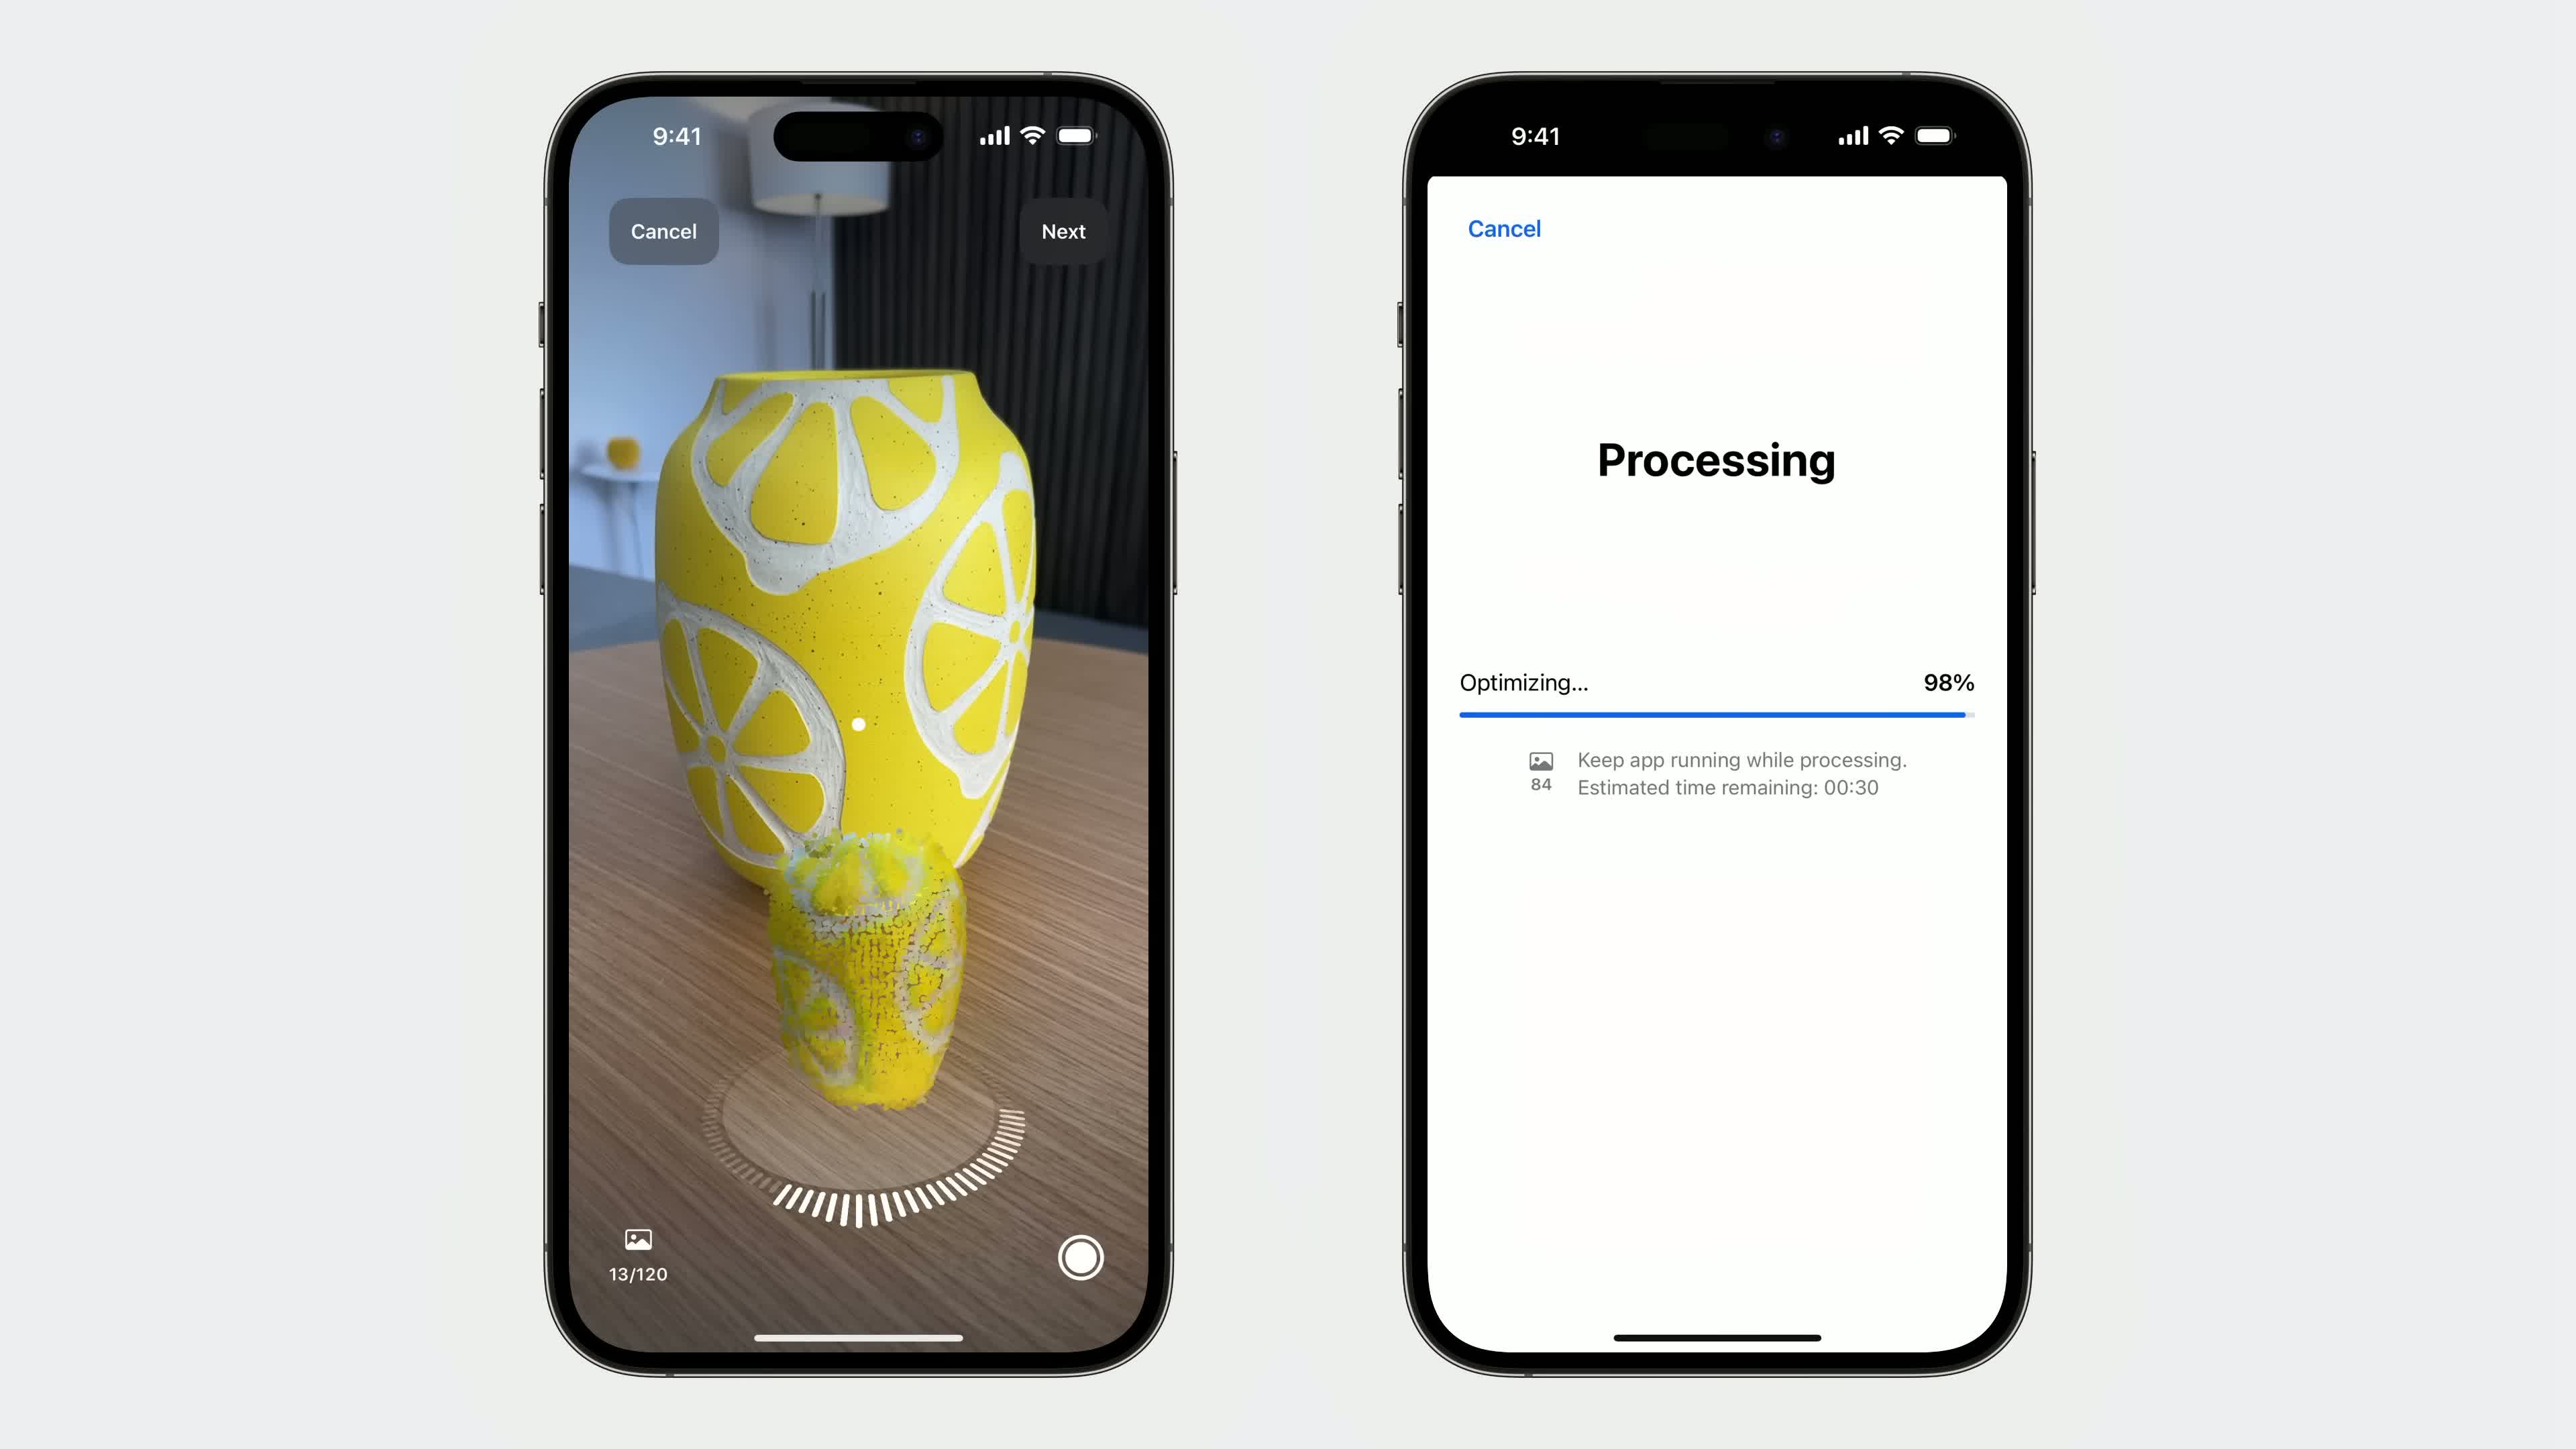
 Photogrammetry process demonstration (source: Apple Newsroom).
The Tool: Apple's Object Capture
For my scan, I used Apple's own sample app, Scanning Objects Using Object Capture. It's a developer sample code that leverages the LiDAR scanner and photogrammetry APIs built right into iOS. To use this app, you simply need an iPhone or iPad equipped with a LiDAR Scanner running iOS/iPadOS 18 or later.
Tip: This isn't a pre-compiled app on the App Store. You have to download the project and build it to your phone using Xcode. It's a bit of a hurdle, but as a developer, you'll feel right at home.
Why I chose this:
- Data Access: It gave me the raw 3D mesh and the 90+ high-res photos used to create it. We will desperately need those original photos later for texture projection.
- Privacy: Everything is processed locally on the device. No uploading my face to a random cloud server.
 Object Capture Sample App showcase (source: Apple Developer).
The Alternative: Polycam
If you don't have a LiDAR iPhone, or you are on Android, or you just don't want to mess with Xcode, I recommend Polycam. It's a fantastic app that does the heavy lifting for you. It's available on the App Store and Google Play.
The Trade-offs:
- Convenience vs. Control: It's much easier to use, but you have less control over the processing pipeline.
- Data Access: Make sure you can export the source photos along with the mesh. Sometimes these apps only give you the model, but for our workflow, we need the 2D images to project skin details in Blender.
- Privacy: Your data might be processed in the cloud. I can't personally vouch for what happens to it, so that's a personal choice you'll have to make.
Garbage In, Garbage Out
Here is the golden rule of this entire project: The quality of your final Metahuman depends 100% on the quality of your initial scan. If your scan has bad lighting, your skin texture will look painted on. If your mesh is noisy, the identity solve will fail. You can't just "fix it in post" without hours of painful manual sculpting.
The "Dead Face" Rule
To get a usable scan, you need to do two things that feel completely unnatural:
- The Expression: You need a "neutral" or "A-pose" face. No smiling. No frowning. Eyes open, mouth closed, muscles completely relaxed. If you smile, you are baking that deformation into the geometry. Later, when you try to animate a smile on top of your baked smile, you will look like a glitchy horror movie villain.
- The Lighting: You want flat, boring, even light. No dramatic shadows. If you have a strong shadow under your nose in the photos, that shadow becomes part of your skin color. Overcast days are your best friend.
- The Hair: If you have medium or long hair, get it off your face. I used a headband to pull my hair back tight. You need to expose your hairline, ears, and jawline completely. Any hair casting shadows on your forehead or cheeks will ruin the skin texture projection later. Plus, seeing your full facial structure is critical for the sculpting phase—you can't accurately shape what you can't see.
The Process
- Find a Spot: Go outside on a cloudy day or find a well-lit room with soft light.
- Get a Buddy: You cannot scan yourself effectively. Sit on a stool and have a friend walk in slow circles around you.
- Capture: The app handles the shutter automatically. My friend just had to complete three simple loops: one at eye level, one slightly below looking up (get that chin!), and one slightly above looking down (get the top of the head). The app automatically fired off about 90 photos during this process.
If you want a quick walkthrough on how to capture and export scans using Polycam, this short tutorial is very helpful.
Once you have your data (Mesh + Photos), transfer everything to your PC. Now the real fun begins.
Next up: We'll take our messy scan into Blender and Unreal Engine to extract the face and solve the MetaHuman identity.
関連記事
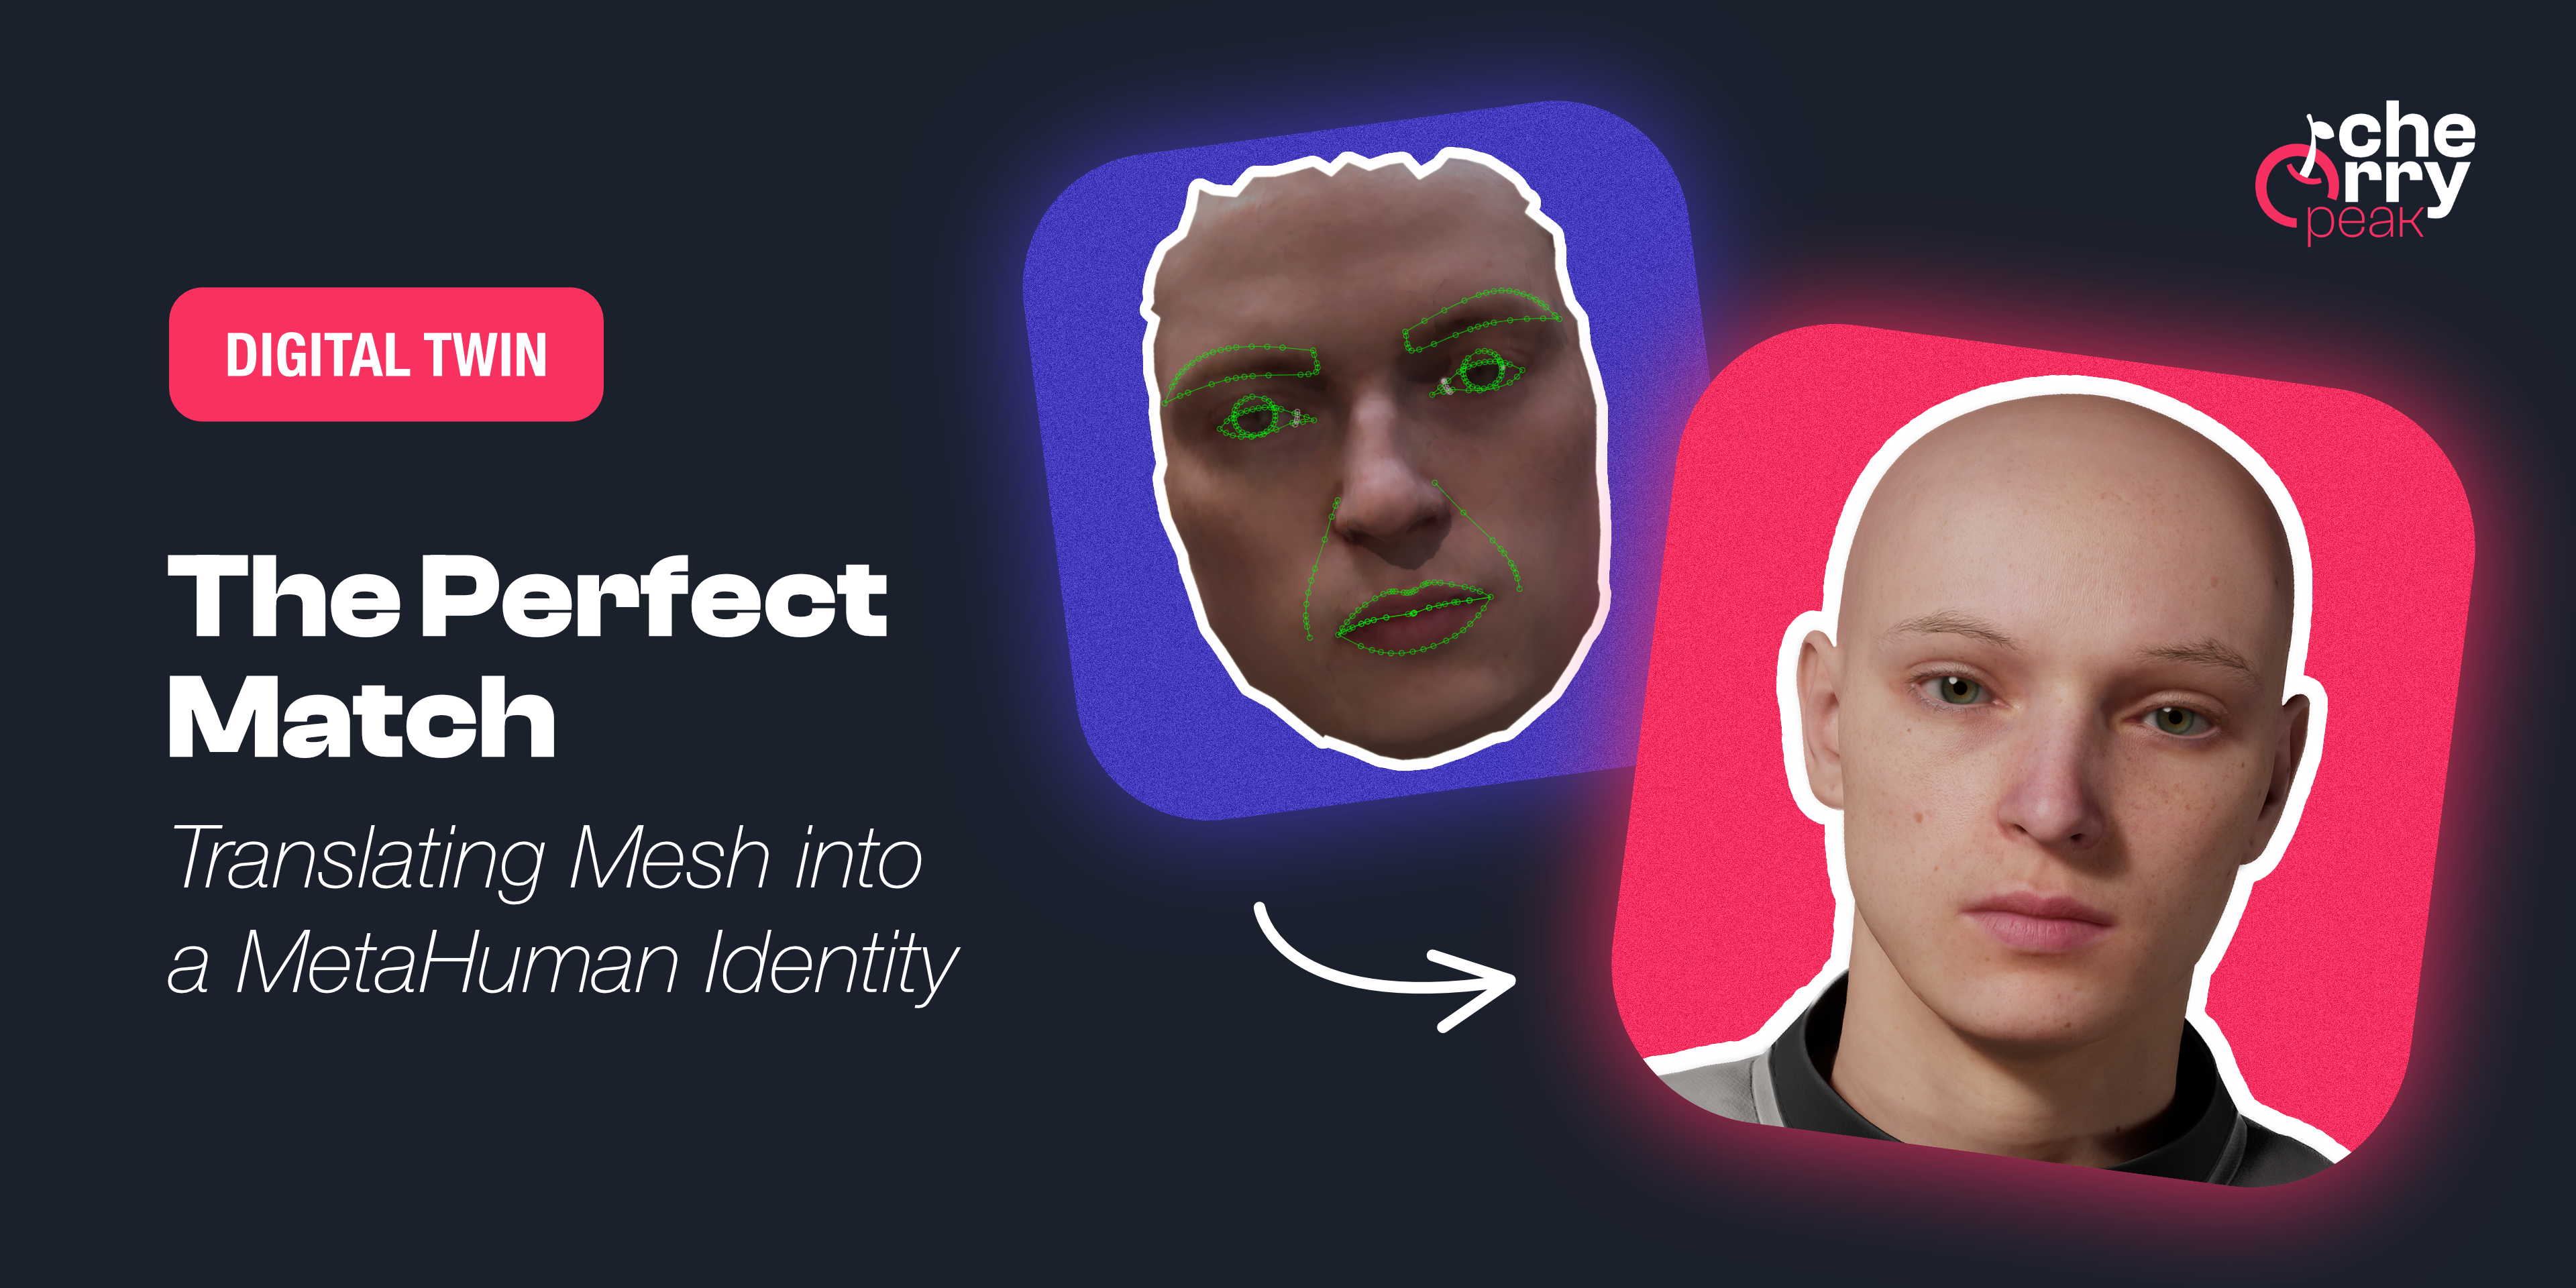
完璧な一致:メッシュをMetaHuman Identityに変換する
Turn your raw 3D scan into a riggable MetaHuman. From trimming the mesh in Blender to Identity Solve and building the character in Unreal Engine, the face of your digital twin.
Dec 18, 2025
6 min read
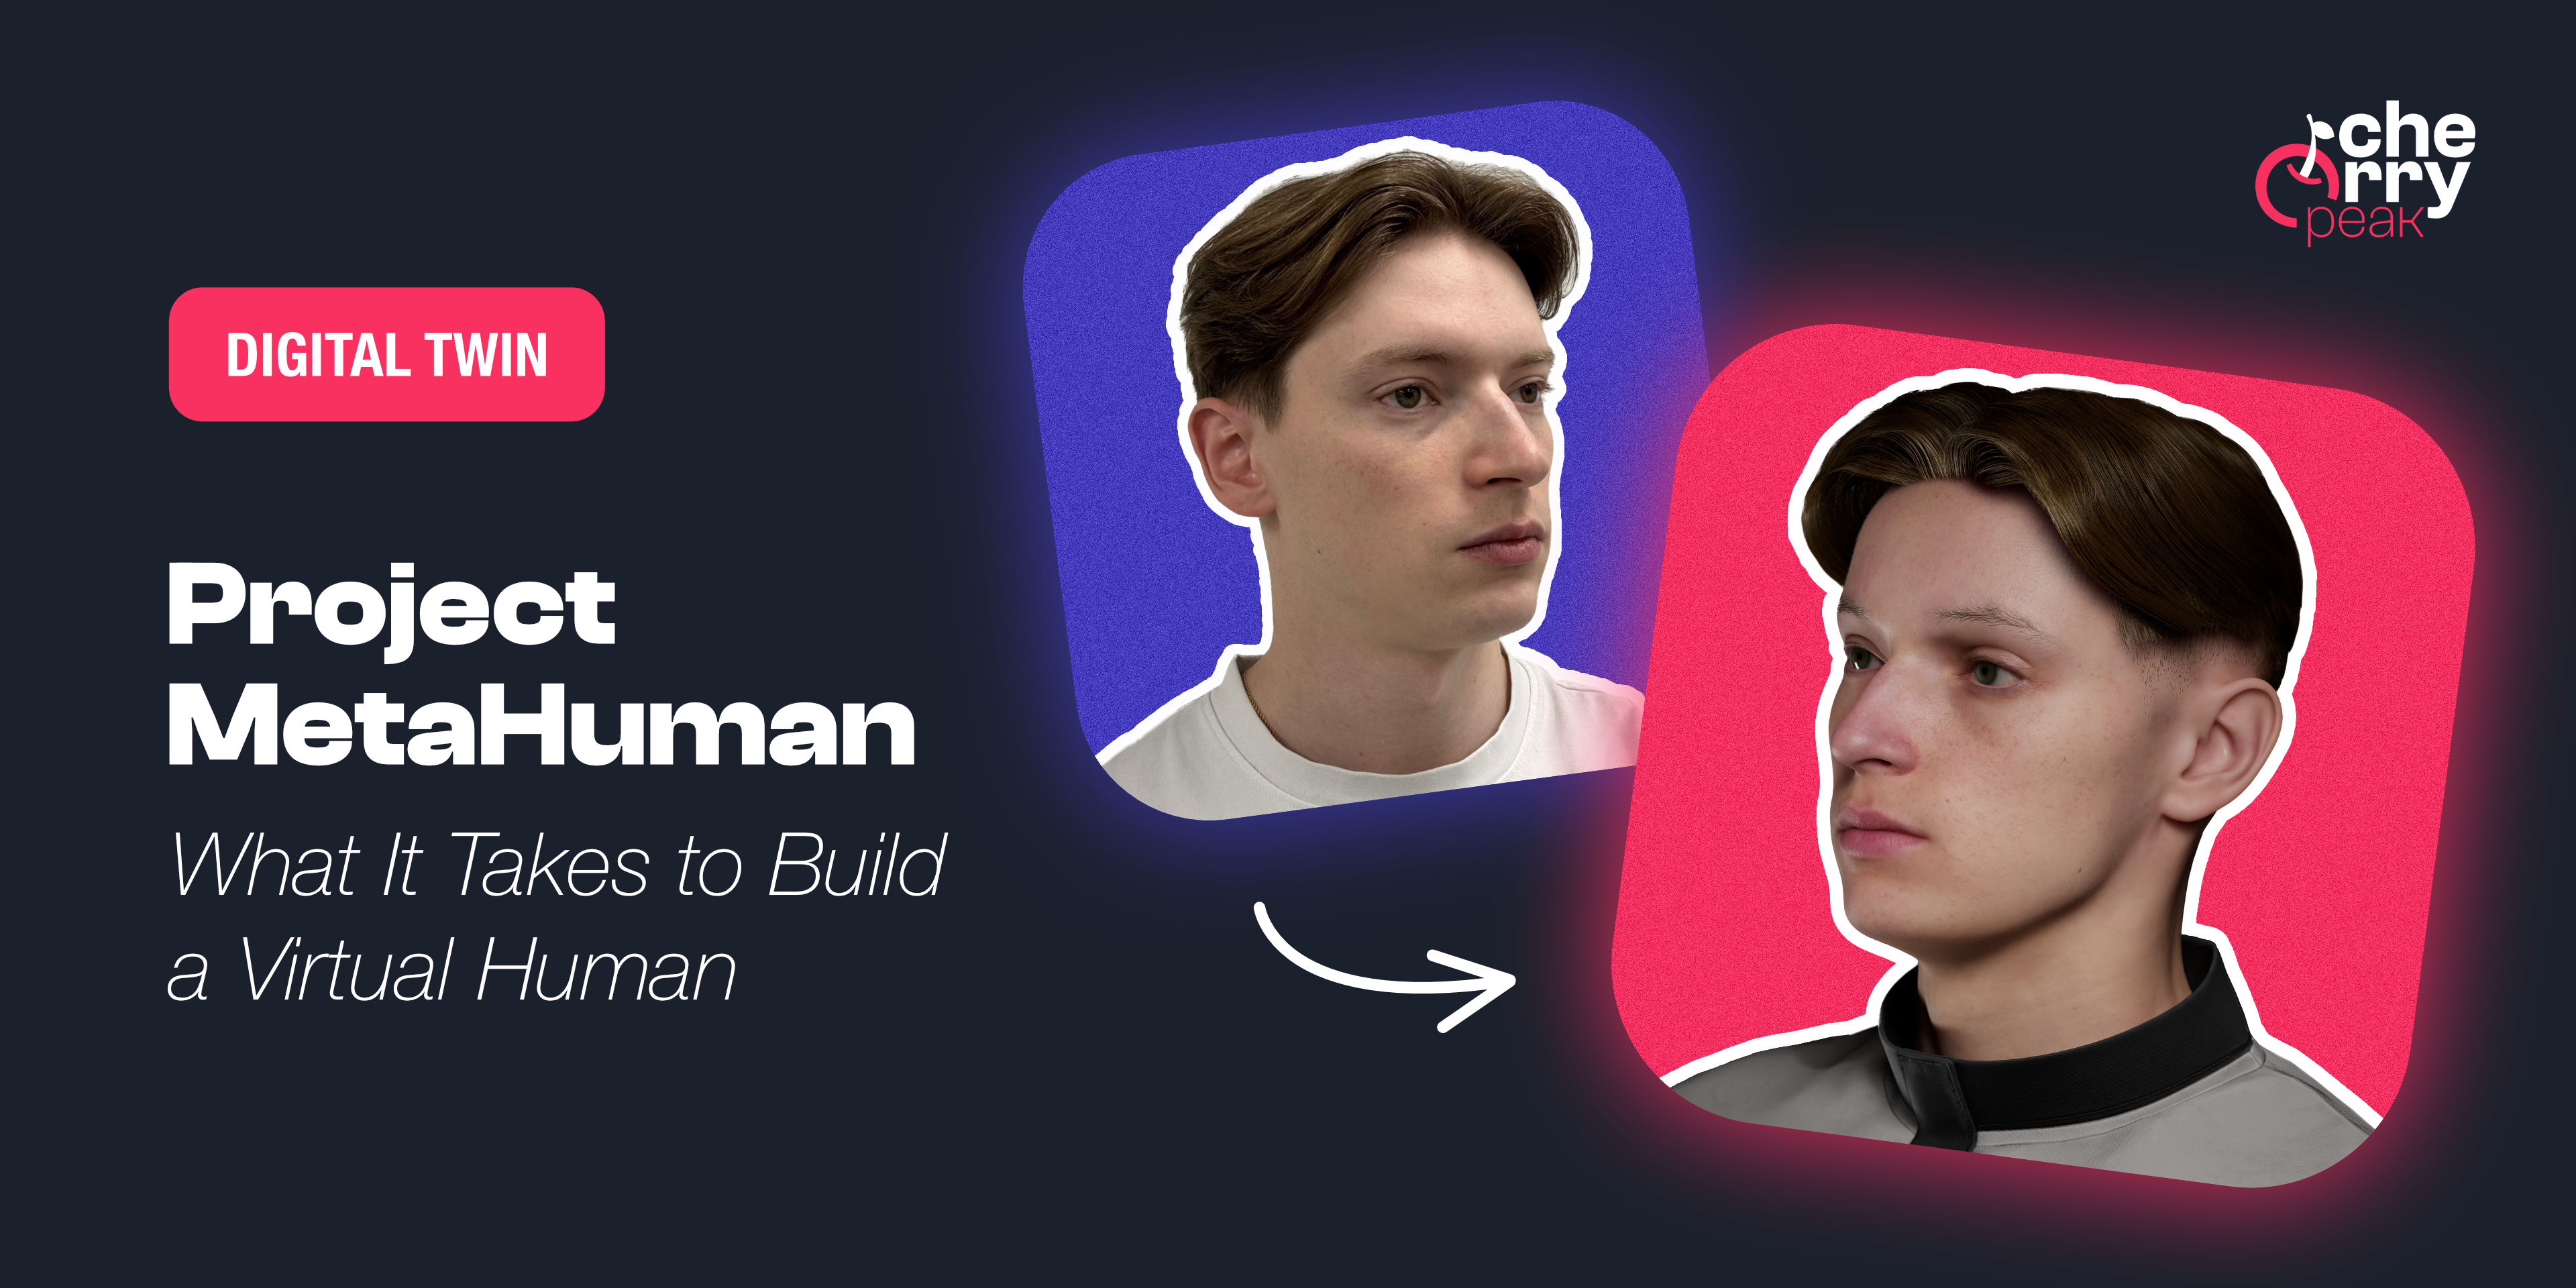
プロジェクトMetaHuman:バーチャルヒューマンを作るために必要なこと
A developer's journey into creating a photorealistic digital twin using Unreal Engine's MetaHuman framework, from smartphone scanning to final render.
Dec 1, 2025
5 min read
拡張現実(AR)がデジタル製品の設計方法をどのように変えているか
Augmented Reality has emerged as a transformative force in digital product design, fundamentally altering how we approach user experience, interface design, and product development.
Mar 20, 2024
6 min read